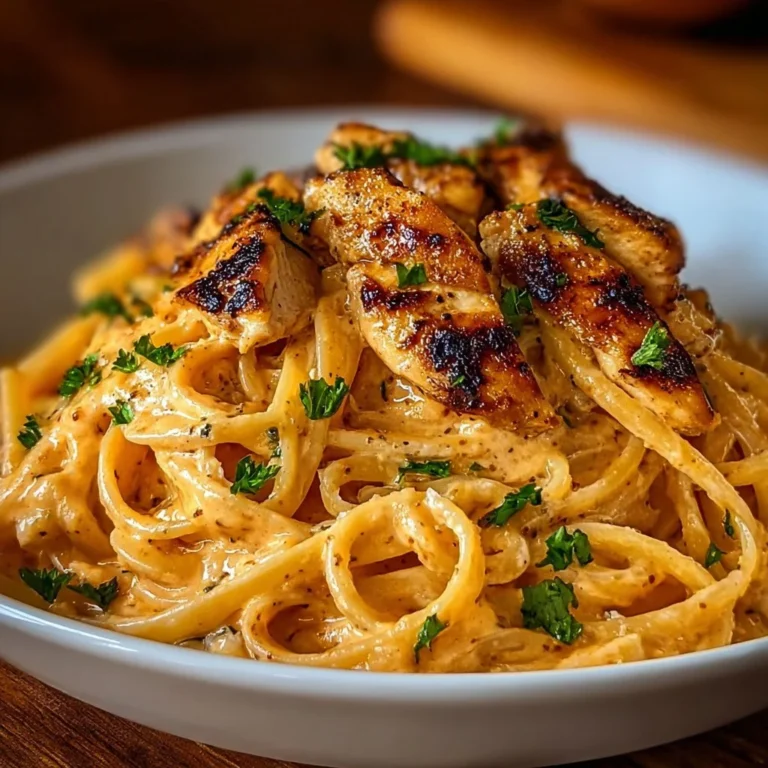
Cheesy Chicken Spaghetti
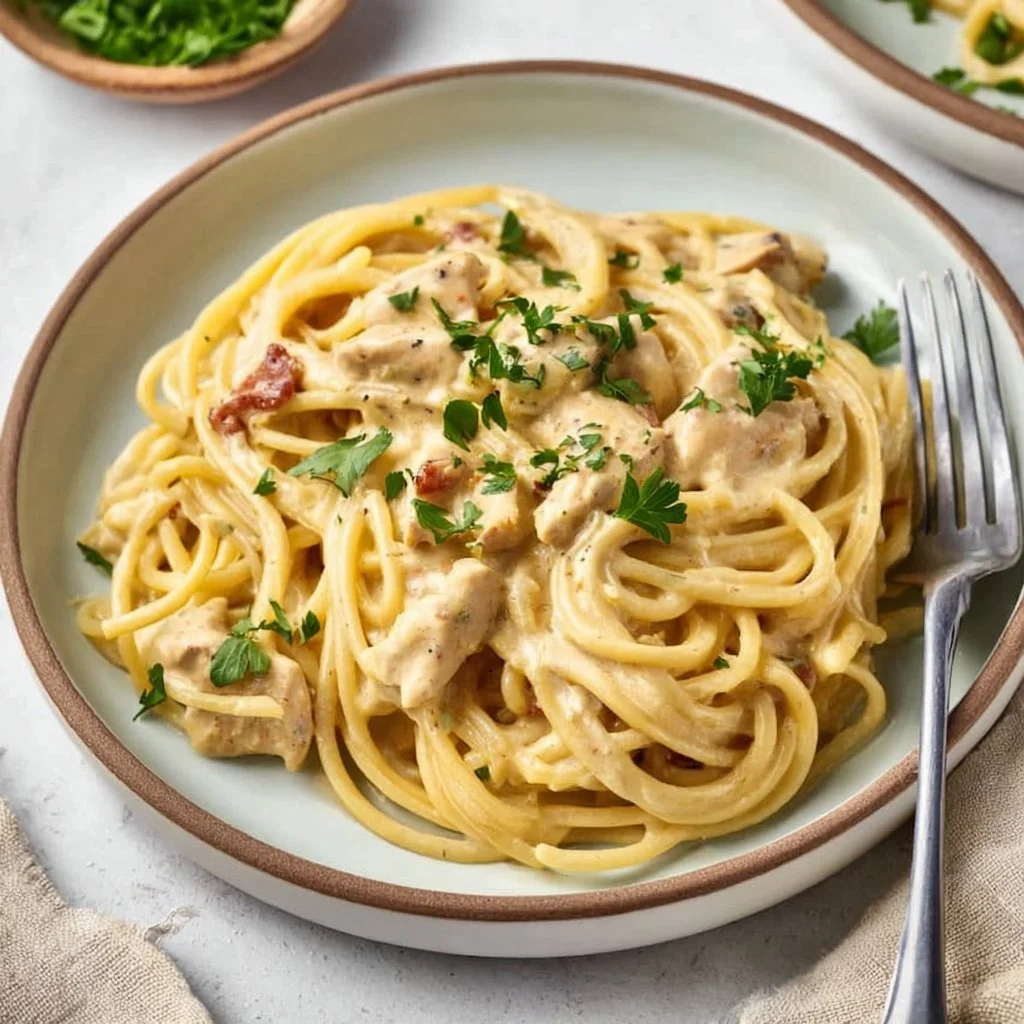
There’s nothing quite like the comforting embrace of a hearty pasta dish, and Cheesy Chicken Spaghetti delivers just that. This recipe combines tender strands of spaghetti with succulent shredded chicken, creamy sauce, and plenty of cheese. It’s the kind of meal that warms you from the inside out, making it perfect for busy weeknights or family gatherings. But what really makes this dish special is its ease of preparation; it’s a one-bowl wonder that satisfying even the pickiest eaters, making it a staple in many homes.
Why you’ll love this dish
Why go out when you can create a quick and delicious dinner at home? Cheesy Chicken Spaghetti hits all the right notes: it’s budget-friendly, takes minimal effort, and is a guaranteed crowd-pleaser. Whipping this up for a weeknight dinner will earn you rave reviews from the family, and it also doubles as a great dish for potlucks or gatherings. Plus, its ability to please kids while appealing to adult palates makes it a truly versatile recipe.
"This Cheesy Chicken Spaghetti is my go-to when I’m short on time but want a filling, delicious meal! Everyone loved it!" — Happy Home Cook
The cooking process explained
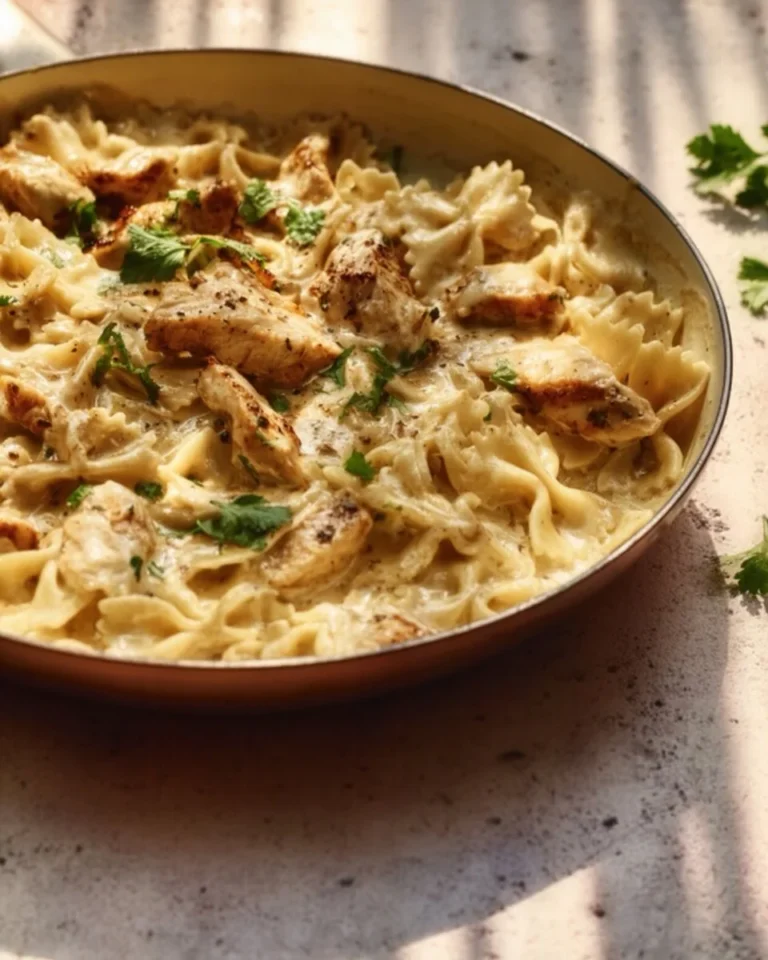
Making Cheesy Chicken Spaghetti is straightforward and quick, which is another reason it’s a hit with so many home cooks. You’ll start by cooking your spaghetti, then combine it with other flavorful ingredients to create a creamy, cheesy concoction. Finally, after a brief baking session, you’ll have a delightful dish that’s ready to impress.
What you’ll need
Before diving in, gather the following ingredients to set yourself up for success. Feel free to get creative with your additions or substitutions, like using rotisserie chicken for even quicker prep!
- 8 oz spaghetti
- 2 cups cooked chicken, shredded
- 1 cup shredded cheddar cheese
- 1 can cream of chicken soup
- 1/2 cup milk
- 1/2 cup frozen peas (optional)
- Salt and pepper to taste
- 1/2 cup grated Parmesan cheese
Step-by-step instructions
Follow these straightforward steps to create your zesty Cheesy Chicken Spaghetti:
- Boil the spaghetti according to the package instructions, then drain it.
- In a large mixing bowl, combine the shredded chicken, cream of chicken soup, milk, and cheddar cheese. Stir until smooth.
- Add the drained spaghetti to the mixture and fold everything together until well combined.
- If you’re using them, stir in the frozen peas, seasoning with salt and pepper as you go.
- Transfer the entire mixture into a greased baking dish, and sprinkle the top with grated Parmesan cheese.
- Bake in a preheated oven at 350°F (175°C) for about 25-30 minutes or until the top is bubbly and golden.
- Allow it to cool slightly before serving—this helps the flavors marry perfectly!
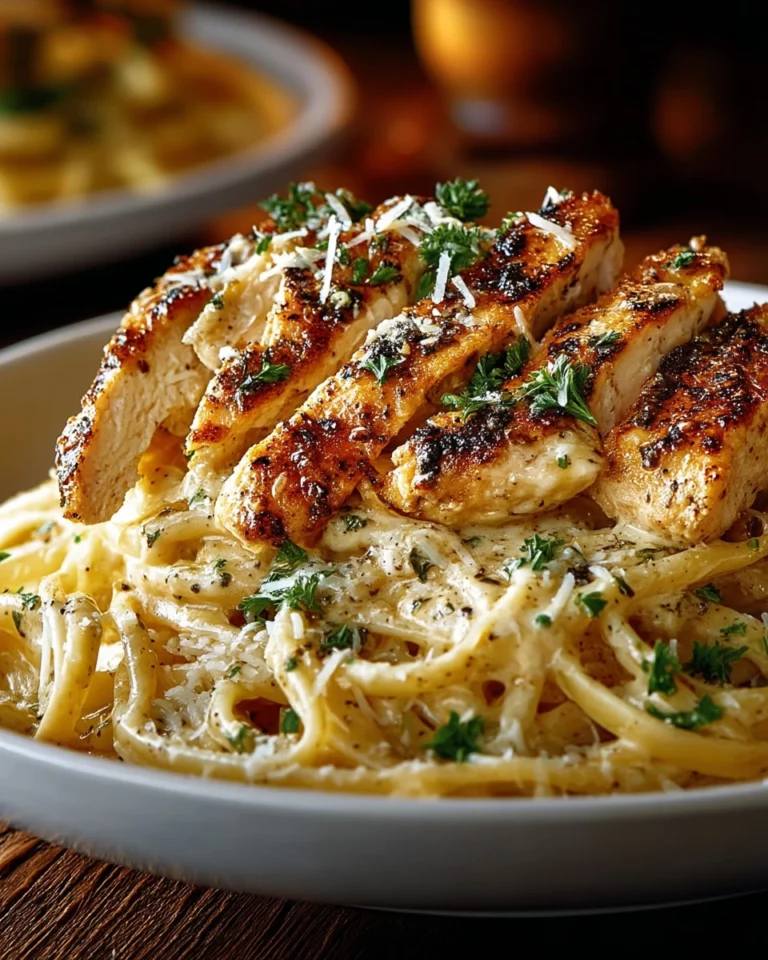
Best ways to enjoy it
Cheesy Chicken Spaghetti can be served in a variety of delightful ways. For a simple yet elegant presentation, serve it directly from the baking dish, garnished with a sprinkle of fresh parsley or sliced green onions. Pair it with a crisp garden salad for a refreshing contrast or buttery garlic bread for a comforting touch. A glass of white wine or a refreshing iced tea could also make a delightful accompaniment.
Storage and reheating tips
To store leftovers, let your Cheesy Chicken Spaghetti cool completely before transferring it to an airtight container. It can be safely kept in the refrigerator for about three to four days. If you want to freeze it, package it in meal-sized portions with a layer of plastic wrap before sealing and labeling. To reheat, simply thaw in the fridge overnight and then warm it in a covered dish in the microwave or oven until heated through.
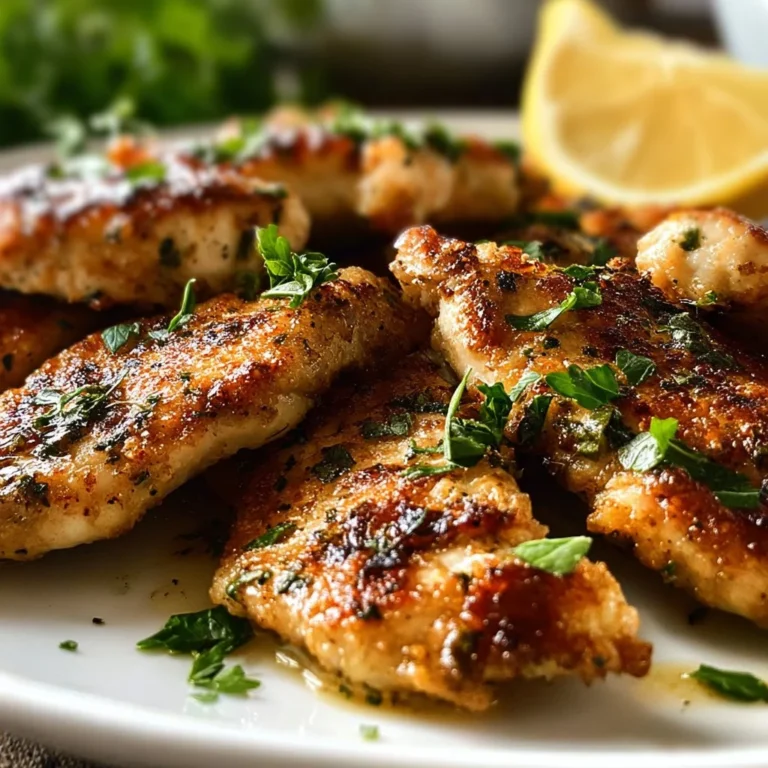
Helpful cooking tips
Here are some pro tips to elevate your Cheesy Chicken Spaghetti experience:
- Use leftover rotisserie chicken or any cooked chicken from your fridge to save time.
- For an extra layer of flavor, consider adding sauteed garlic or onion to the chicken mixture.
- If you’re seeking to lighten it up, use reduced-fat cream of chicken soup and substitute a mix of whole-grain pasta for added nutrition.
Creative twists
While the classic is undeniably satisfying, there are plenty of ways to remix this dish:
- Swap out the cheddar for mozzarella for a cheesier pull when serving.
- Try adding vegetables like bell peppers or mushrooms for additional texture and flavor.
- Consider a spicy kick with diced jalapeños or crushed red pepper flakes folded into the mix.
Your questions answered
How long does it take to prepare this dish?
Prep time is about 10 minutes, and cooking takes another 25-30 minutes in the oven.
Can I use fresh chicken instead of cooked?
Absolutely! Just cook your chicken first—boiling or baking works great—before shredding it for the recipe.
How can I make this dish gluten-free?
Substitute regular spaghetti with gluten-free pasta, and ensure your cream of chicken soup is also gluten-free.
Cheesy Chicken Spaghetti is sure to become a cherished family favorite. Enjoy the simplicity and satisfaction it brings to your dinner table!

Cheesy Chicken Spaghetti
Ingredients
Main Ingredients
- 8 oz spaghetti Use your favorite type of spaghetti.
- 2 cups cooked chicken, shredded Leftover rotisserie chicken can be used for quicker prep.
- 1 cup shredded cheddar cheese Feel free to swap for mozzarella for a different flavor.
- 1 can cream of chicken soup
- 1/2 cup milk
- 1/2 cup frozen peas This ingredient is optional.
- to taste salt and pepper
- 1/2 cup grated Parmesan cheese For topping.
Instructions
Preparation
- Boil the spaghetti according to the package instructions, then drain it.
- In a large mixing bowl, combine the shredded chicken, cream of chicken soup, milk, and cheddar cheese. Stir until smooth.
- Add the drained spaghetti to the mixture and fold everything together until well combined.
- If you’re using them, stir in the frozen peas, seasoning with salt and pepper as you go.
- Transfer the entire mixture into a greased baking dish and sprinkle the top with grated Parmesan cheese.
- Bake in a preheated oven at 350°F (175°C) for about 25-30 minutes or until the top is bubbly and golden.
- Allow it to cool slightly before serving—this helps the flavors marry perfectly!